For all intents and purposes, Outlook 2013 and Outlook 2016 account setups and changes are the same with only some minor cosmetic differeneces. These instructions show Outlook 2016 screens, but they will work for either version.
Setup a New Account
-
Select the File tab above the Ribbon Toolbar.

-
Click the Account Settings button.

-
Click the new Account Settings... button that appears.

-
In the new windows that appears, click New...

-
Change the round radio button to "Manually configure server settings or additional server types" then click Next >

-
Select "POP or IMAP" then click Next >

-
Ensure your name is correct, your E-mail address is correct, change the account type to IMAP, Make both the incoming and outgoing mail servers shastaemail.com, enter your E-mail address for your username, and enter your password. Ensure "Remember password" IS checked. Ensure that "Require logon using Secure Password Authentication (SPA)" is NOT checked. Then click the More settings... button.

-
Change to the "Outgoing Server" tab by clicking it.

-
Ensure that the box in for "My outgoing server (SMTP) requires authentication" is checked and that the round radio button has "Use same settings as my incoming mail server" selected. Click OK.

-
Click Next > to continue.
-
If the "Test Account Settings by clicking the next button" check box is checked, it will run a send and receive test. Click Close

-
-
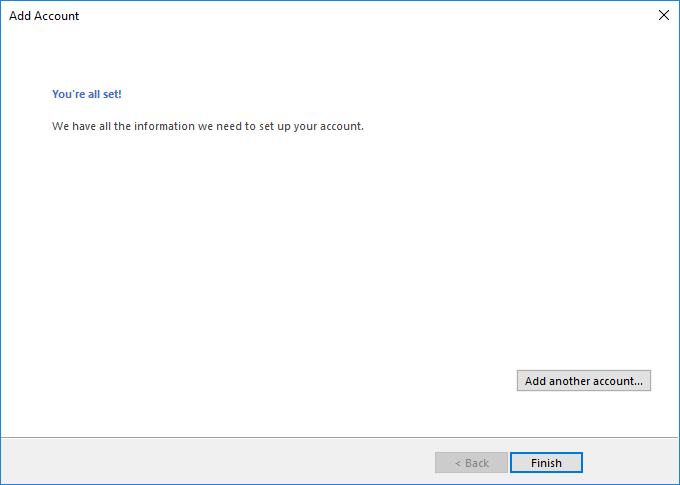
You will get a "You're all set!" screen signifiying that your account has been seccussfully setup. Click Finish.
-
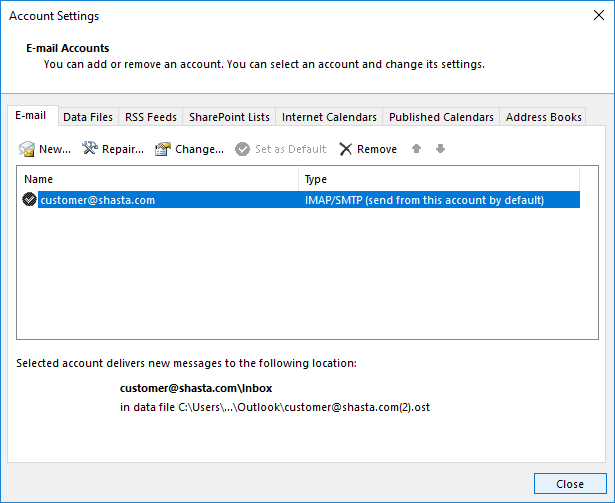
You should now see your account listed on the E-mail tab of the Account Settings controls. Click Close.
-
This will return you to the main window. You might see your test message.

-
Right Click on your E-mail address for the account you just added. Select IMAP Folders... from the menu that appears.

-
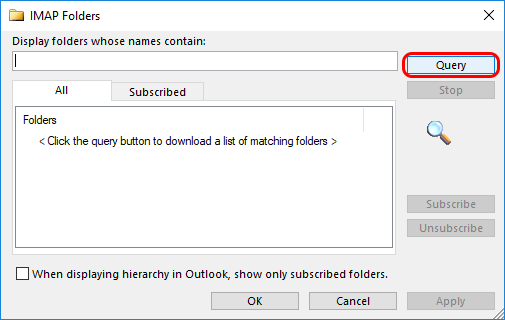
A new dialog box should open. Click Query.
-
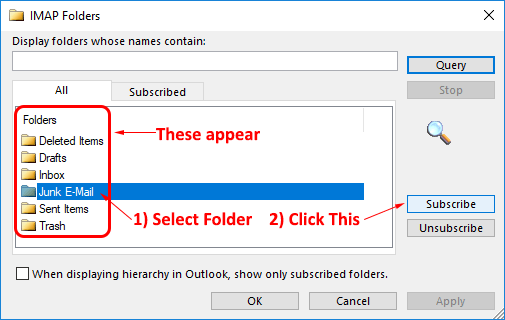
Clicking Query shows the folders on the server. Select any folders you want to be able to see and click Subscribe. It is strongly suggested you subscribe to the "Junk E-mail" folder, as the mail server places SPAM in this folder if it scores high enough. When you are done subscribing, click OK.


Modify an Existing Account
-
Select the File tab above the Ribbon Toolbar

-
Click the Account Settings button

-
Click the new Account Settings... button that appears

-
Select the E-mail account you want to change. Click Change...

-
Make changes as needed. Refer to steps 7 and 7a through 7d in the new account setup guide above for reference.
-
You will get a "You're all set!" screen signifiying that your account has been seccussfully setup. Click Finish.
-
If you are done making changes to accounts, click Close.


